Ultimate Guide to Setting up your Business Card Artwork in Adobe Illustrator
If you are unsure or have not been given specifics by your printer then this is a basic guide to setting up your business cards ready for printing that should cover most industry standard printers in the UK

Setting up your Illustrator file ready for artwork
Open up Adobe Illustrator. Go to FILE>New. (This setup is for a double sided printed business card but is the same process and dimensions for a single sided card except you only require 1 artboard)
Create 2 artboards with dimensions as shown, 91x61mm

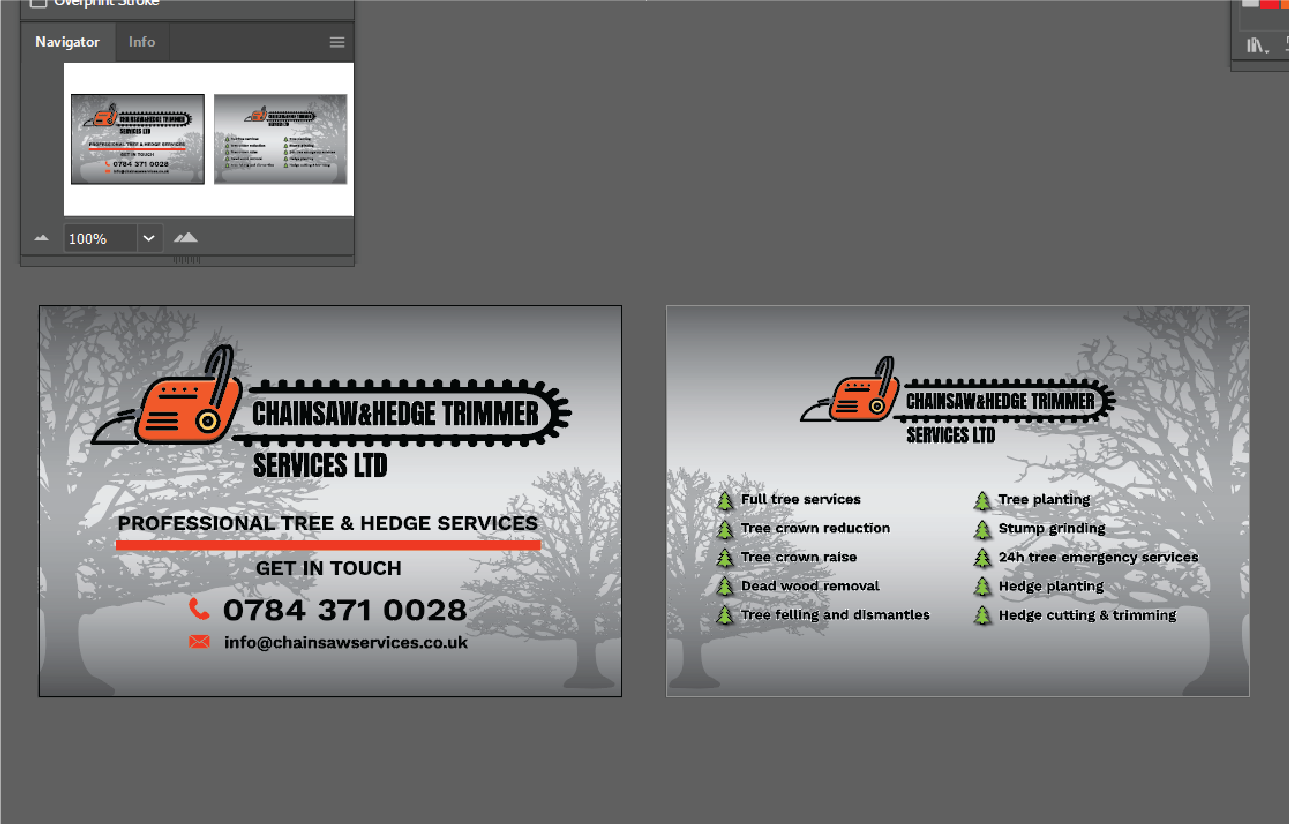
Create your Business Card Artwork within the guidelines
There are 3 key points to note when creating your artwork.
Overall artwork size – This is the size your artboard should be and all artwork should extent to this point. Excess or graphics extending past this point should be clipped to this size – 91x61mm (clipping involves creating a box 91x61mm – selecting all objects including the box, which should be the topmost object and right clicking and selecting create clipping mask)
Finished Size – This is the size your card will be after trimming. All graphics past this point are considered bleed. Bleed is used to ensure there are no white edges to your business cards when they are trimmed to size.
Safety Zone – Try to keep all important text and graphics within this area to avoid being cut off when the card is trimmed. A usual safety zone of 3mm is considered enough.

Convert all text to outlines
It’s very important that you convert all text objects to outlines. Select the text> right click> convert to outlines

Double check all fonts are converted
If you want to double check that all your text has been converted or to do it all in one go you can opt to use the Select tab at the top > Object > Select all text objects
Final Artwork
Once you have your artwork finished it should be ready to save
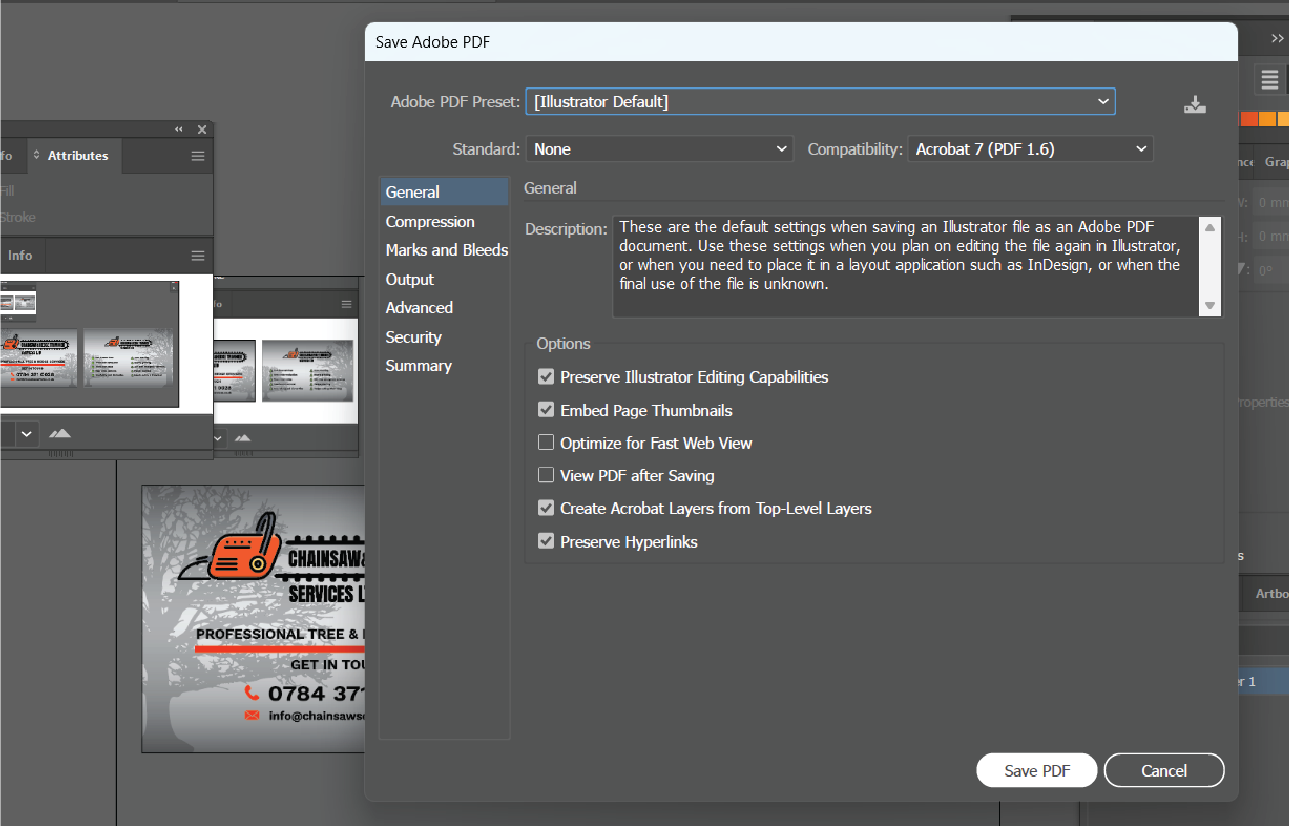
Save as PDF
Ensure you save your artwork as a PDF file. You are now ready to send your artwork for your business cards to be printed